
Mounting Watercolour Paintings on Panel

Why Would You?
Oil and Acrylic paintings come with the advantage of canvas. Weatherproof, ready to hang, professionally displayed. Watercolour by contrast has traditionally been protected under glass due to the water soluble nature of the medium and fragility of paper.
New products make it possible to have the best of both worlds! By properly protecting watercolour with UV weatherproof spray and a coat of cold wax, your paintings can be safe and beautifully displayed without the expensive (and subjectively styled) frame.
The steps below come from what I learned from others online, as well as the tips I learned the hard way from what I didn’t find online.
*You can mount your watercolour paper before or after completing the painting. I prefer after so that I know I’m using my panel on art that I’m happy with.
Materials List:

*Brayer roller and Exacto knife not pictured
Watercolour painting (pre-flattened, I’ll link a blog post on how I do this as well!)
Wood Panel (I used 7/8” pre-gessoed panel from Gotrick, but any brand will do. Many galleries have minimum depth standards so I prefer at least 3/4” to be safe")
Heavy Gel Gloss (I learned from my mistake of using Soft Gel Gloss the first time)
Coldwax (Gamblin Cold Wax Medium or Dorland’s Wax Medium)
Brayer Roller
Flat Brush or Foam Brush (Nothing fancy, for gel application)
Painter’s Tape
Sandpaper (I use 600 grit)
UV Spray Varnish (I’ve used Golden’s and Krylon’s - Semi Gloss)
Exacto Knife
Step 1: Position your Painting
The first step is to ensure that you know where you will mount your painting to the panel. A safe way to do this is to put your painting on the panel, flip over your painting so it’s upside down with the panel on top, then trace around the panel so you have pencil on the back side of your painting. You can optionally cut right outside the tracing line to give you an accurate area to work within. Excess edges will be removed later on.
Step 2: Tape Around The Perimeter of the Panel

I add tape because it prevents the gloss medium from seeping over the edges where I don’t want it. It is also helpful if you’re mounting your watercolour paper prior to painting it, then your paint won’t splash on the edges either.
Step 3: Apply Heavy Gel Gloss
Heavy gel gloss (from the acrylic paint section) acts as an extra acid free layer between the wood and your paper, as well as a glue. Heavy gloss works better than soft because it has a slower drying time, allowing an even glue application and lessening the likelihood of an air bubble or gap.
I use a brush or foam brush to liberally apply the medium. Use more than you think you’ll need, and move quickly during this part. You want to cover all areas and do it thickly and quickly enough that it doesn’t dry before you add your art.
You painting should be face down on a flat surface - as soon as you are done applying the gloss medium, flip the panel and press to the back of your painting within the outline from earlier.
(I missed adding a photo to this step, but I will take one and add it next time!)
Step 4: Brayer Time - Flatten and Prevent Air Bubbles
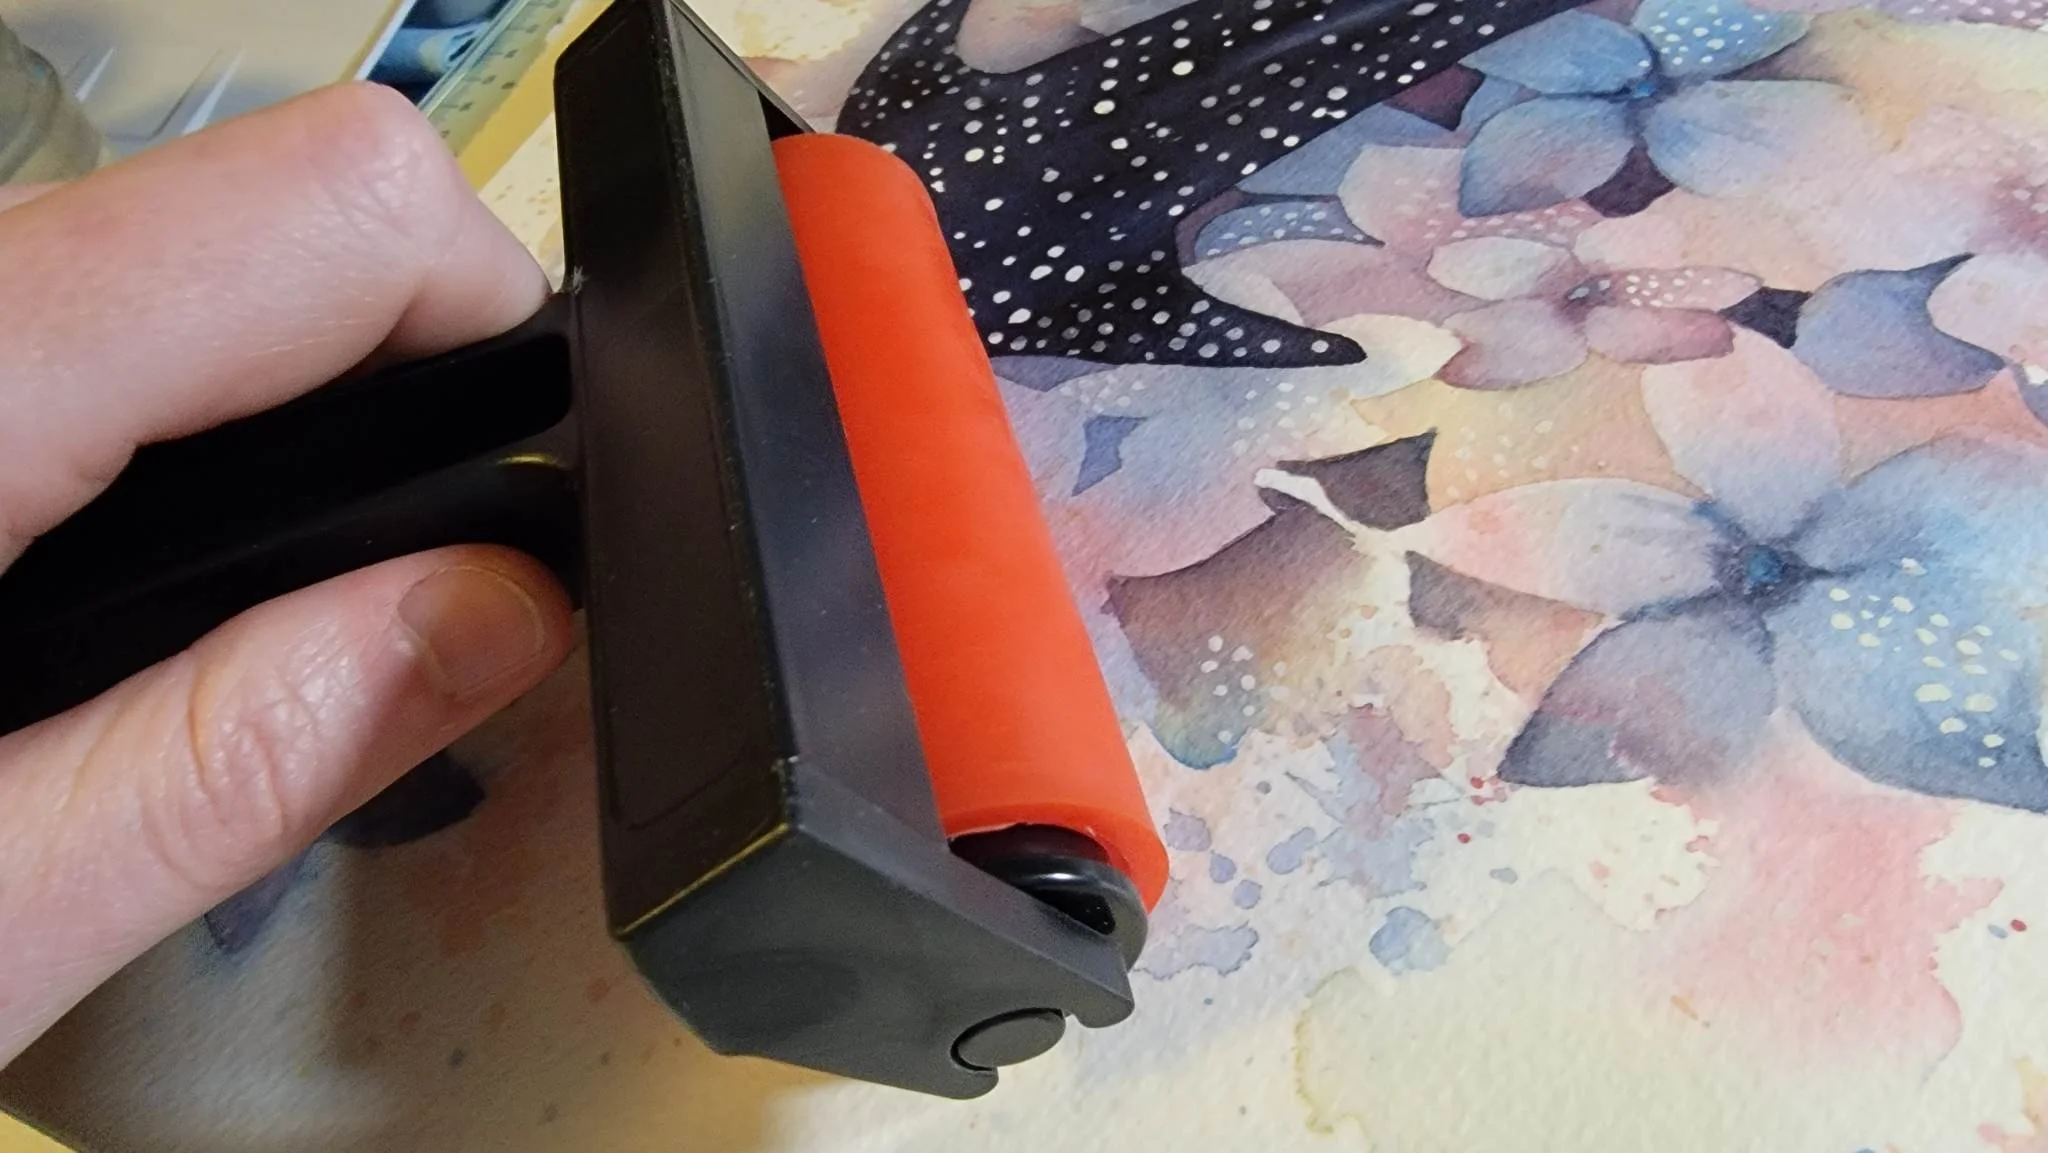
You want to act like your painting is a screen protector and the panel is your new phone and roll it flat, working from the middle to the edges. Use pressure, spread that gel gloss evenly and get that painting stuck tight.
Step 5: Put a Bunch of Stuff on it and Wait

I put my mounted painting face down on a flat surface, then I pile as much weight on as I can and let it dry overnight. I used masonite panels here to distribute the weight.
Why? This is so that the paper dries flat and doesn’t warp or buckle. It also helps the glue (gloss) touch the entire surface of the paper evenly.
Step 6: Cut Away Excess and Sand Edges

Using an exacto knife, I trim any overhanging edges around the board. It doesn’t need to be completely perfect, because any excess will be sanded away now.

Use fine grit sandpaper to sand down at an angle, away from the painting, to get a smooth edge. It’s important to sand down to prevent accidentally tearing the paper away from the glue.
Step 7: Add a Protective Coating
Some places I searched online have this as one step, some have slightly different steps, but for me - I want maximum protection for my artwork so I settled on a two-step system.
First, I spray the painting in a place with good ventilation and minimal debris. For me, this is the garage because this spray is has a strong odour. I have the Golden Semi-Gloss Archival Varnish and the Krylon version of the same, and use them interchangeably. Using light coats I have had no problems with this spray causing my paint to reactivate or bleed.
This coating gives UV protection and prevents smudging

I usually apply a couple of layers and allow the drying time stated on the can between each. Once the spray varnish has dried, it is ready for the wax.
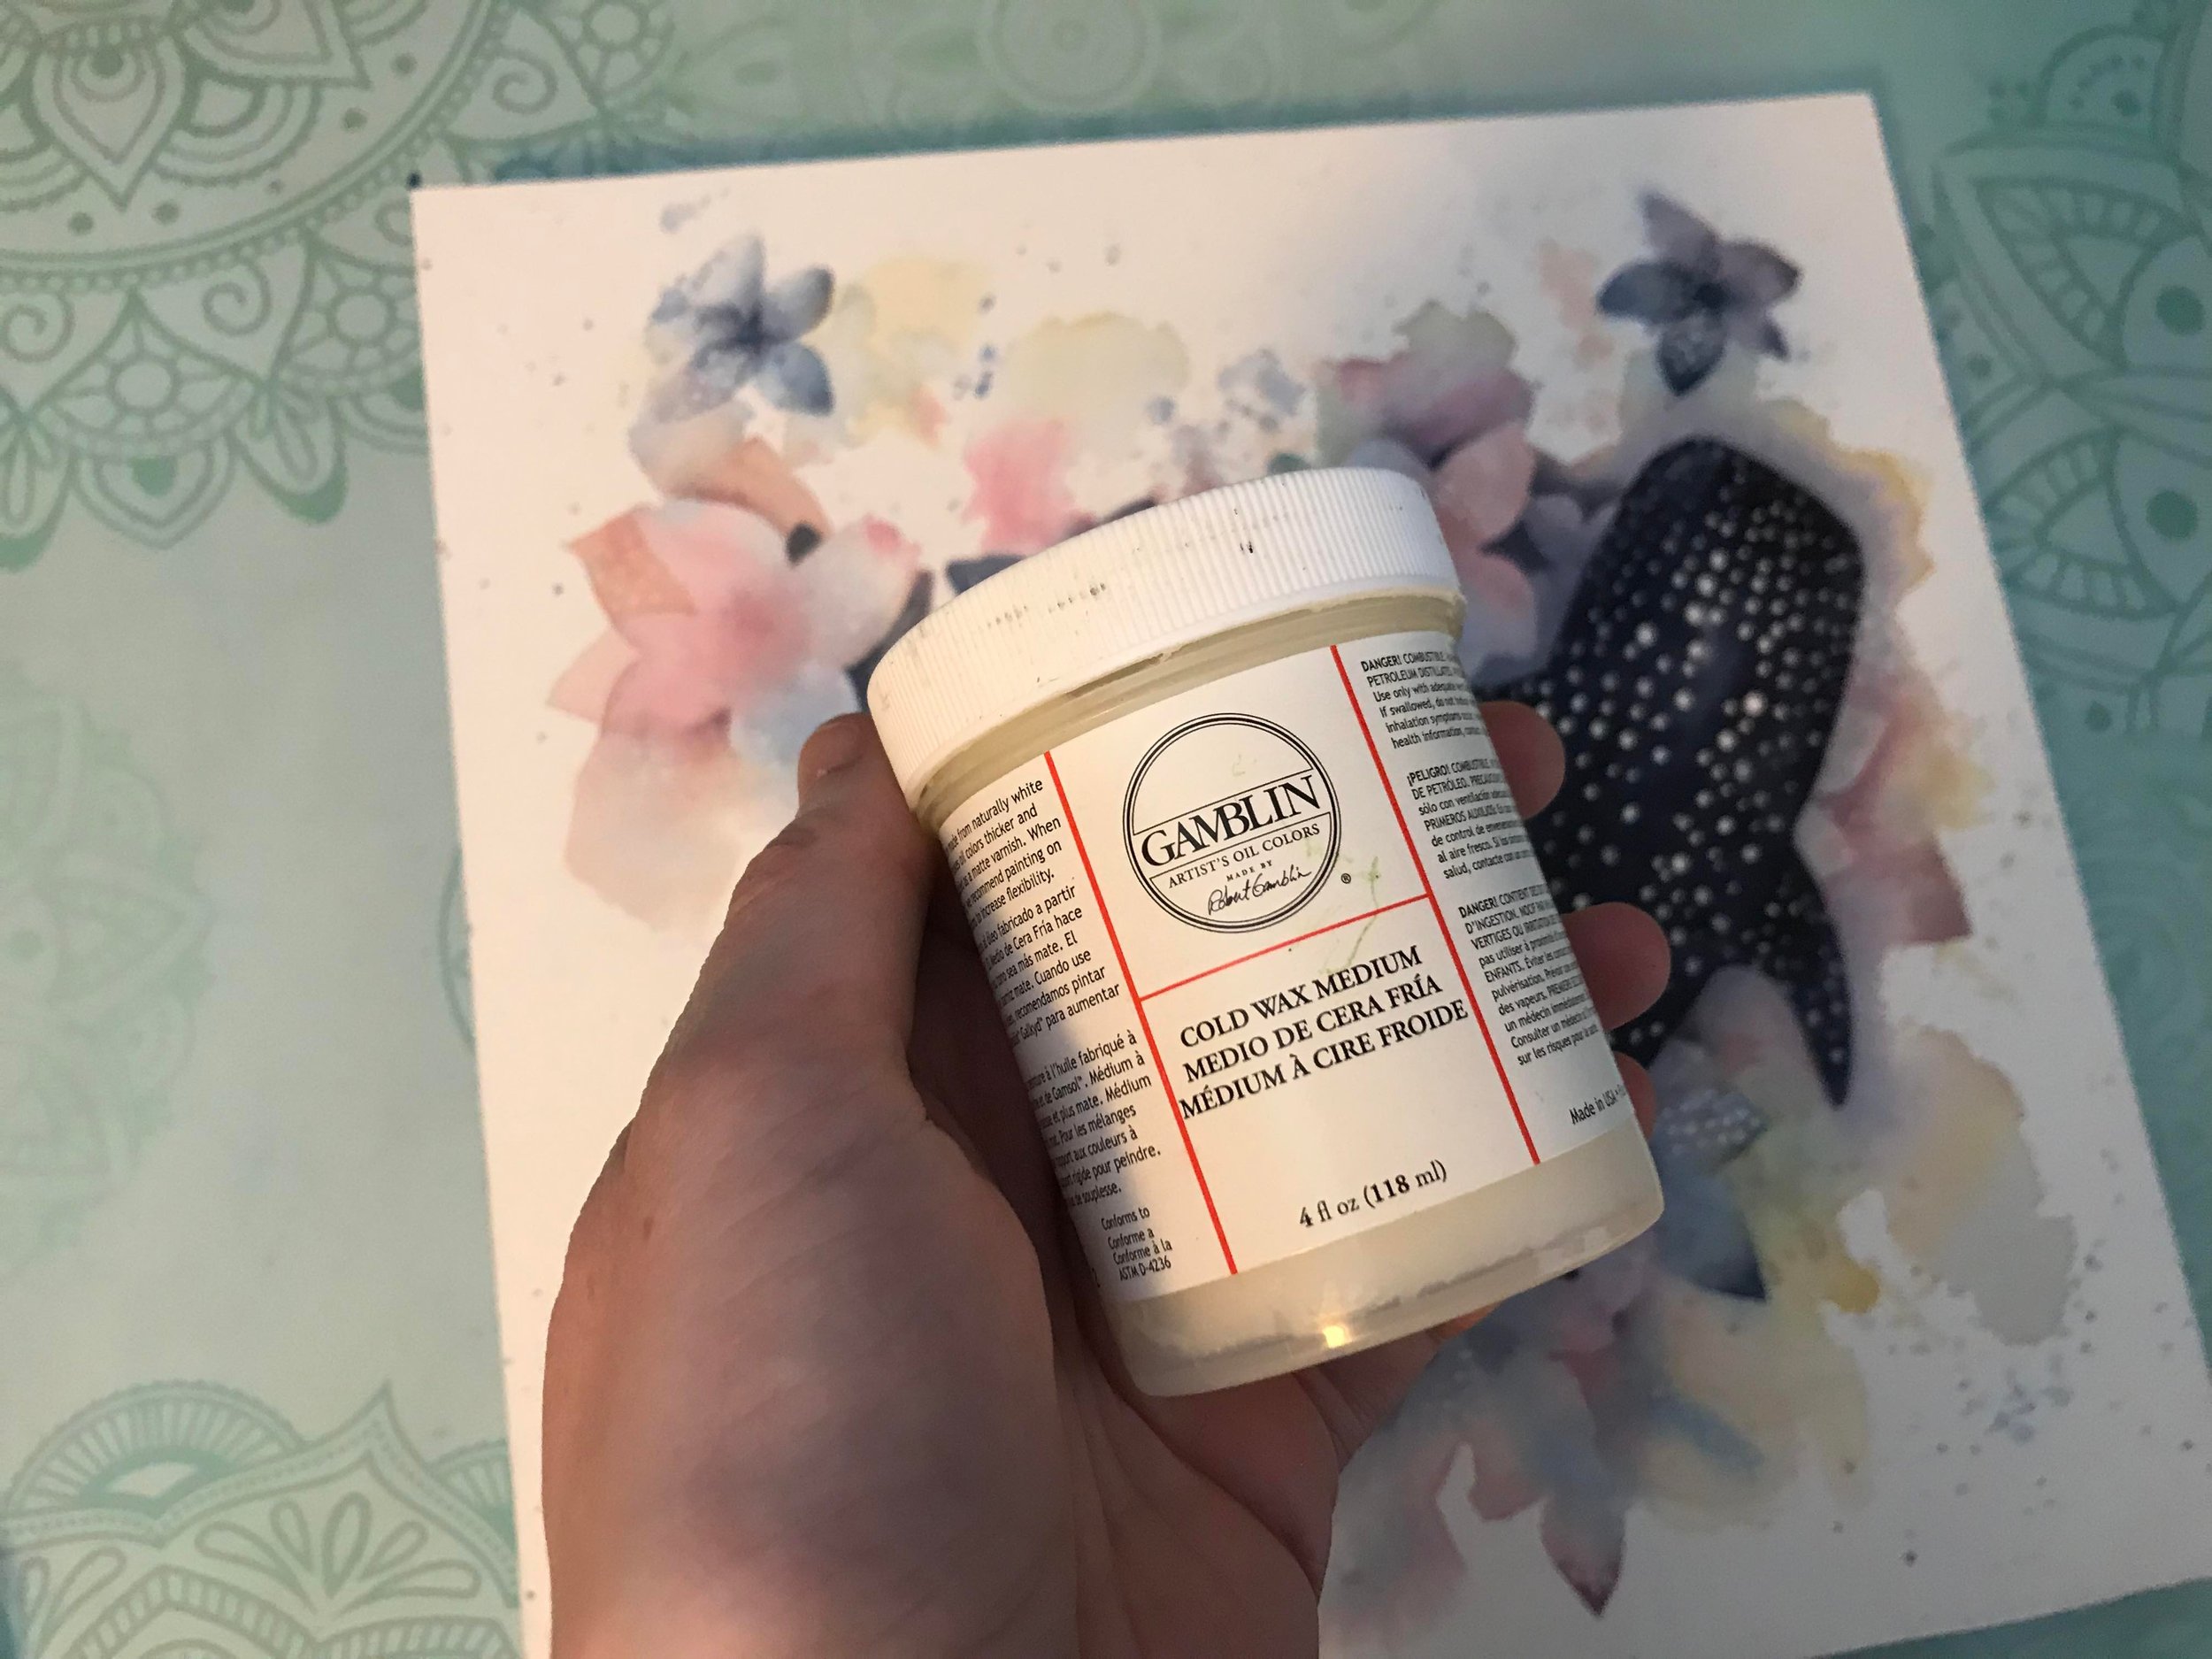
I've used this wax, though I’ve also seen Dorland’s Wax Medium recommended for watercolour.
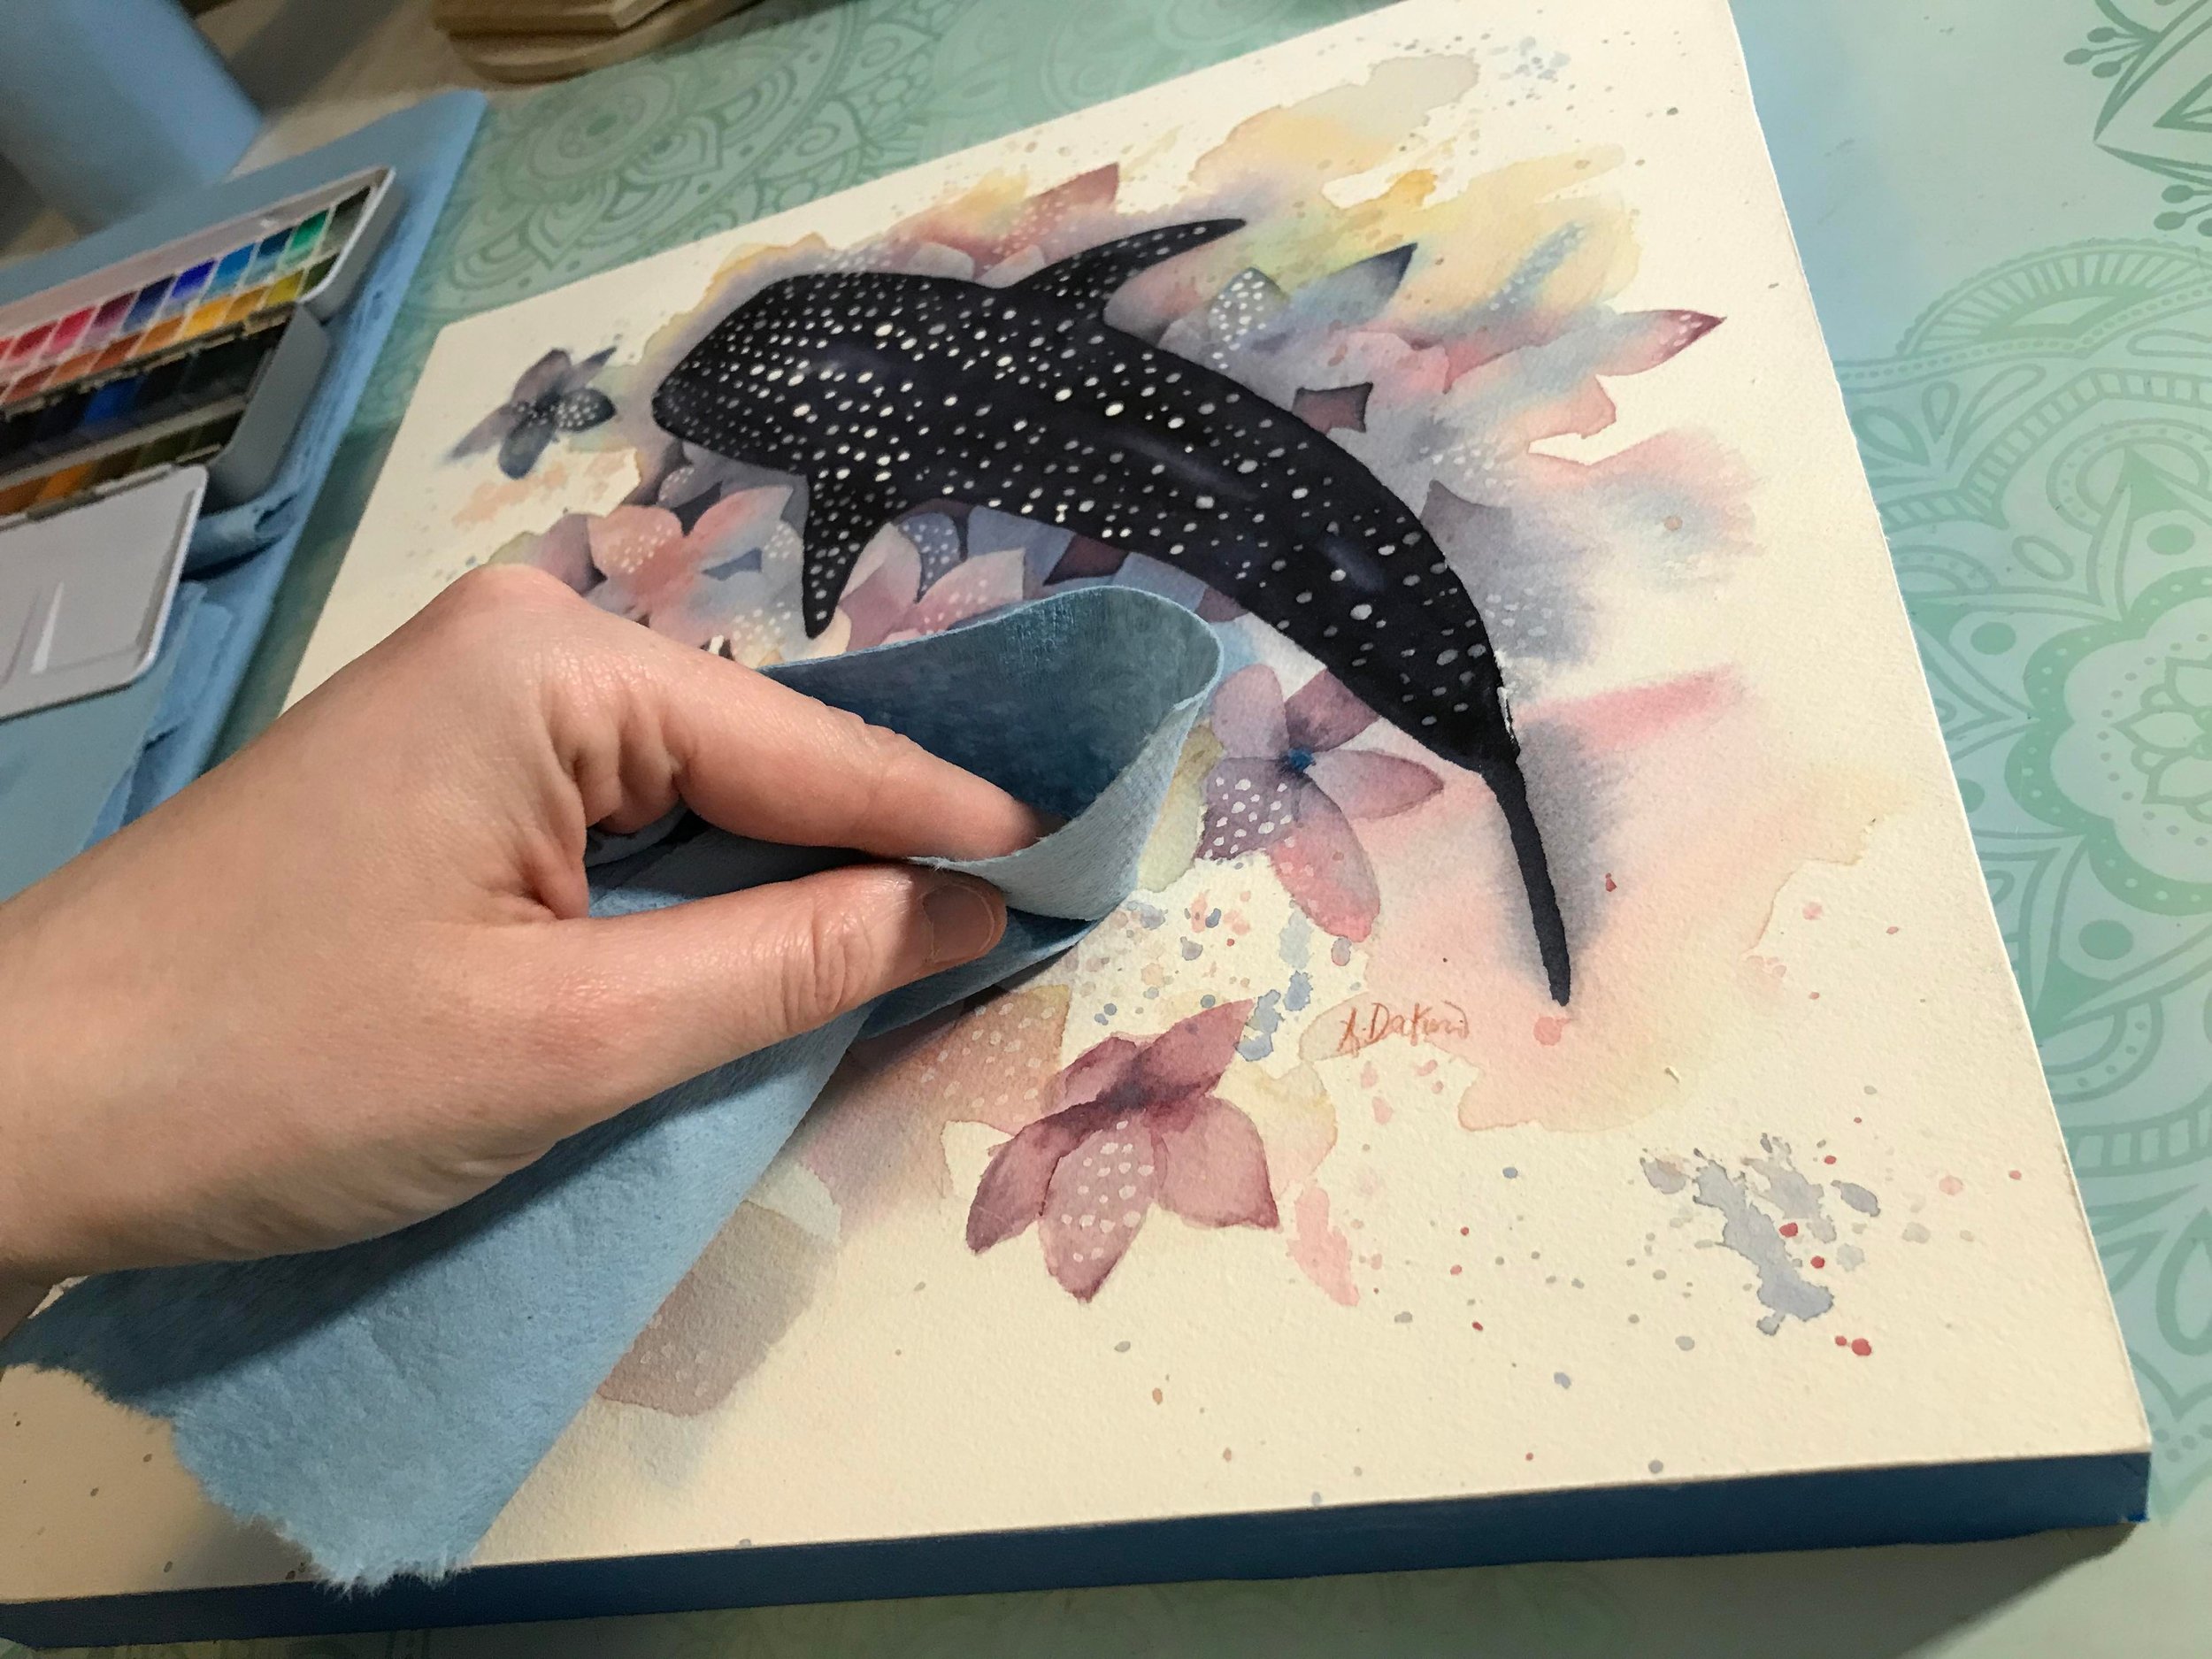
Apply the cold wax medium using small circles with a soft cloth. On art supplies UK, they suggest buffing with a soft cloth once dry for a glossy finish, but I’ve found as much success without this second step.
The wax medium is another layer of protection - making the painting waterproof and bringing out the gorgeous natural colours without having to hide it behind glass.
Step 8: Ready to add Wire and Hang!
What you do with the edges of the panel is up to you. You can stain, use a clear coat varnish, or paint them. I prefer the natural look of the birch panel with my style.
In the future I’ll add a blog on adding wire to the back of your artwork (frames and panels) for gallery hanging, but that’s for another day!
I hope this was helpful. Happy painting!

Watercolour on Birch Panel - In the Gallery